Aiode March 26 product update
March 24, 2026
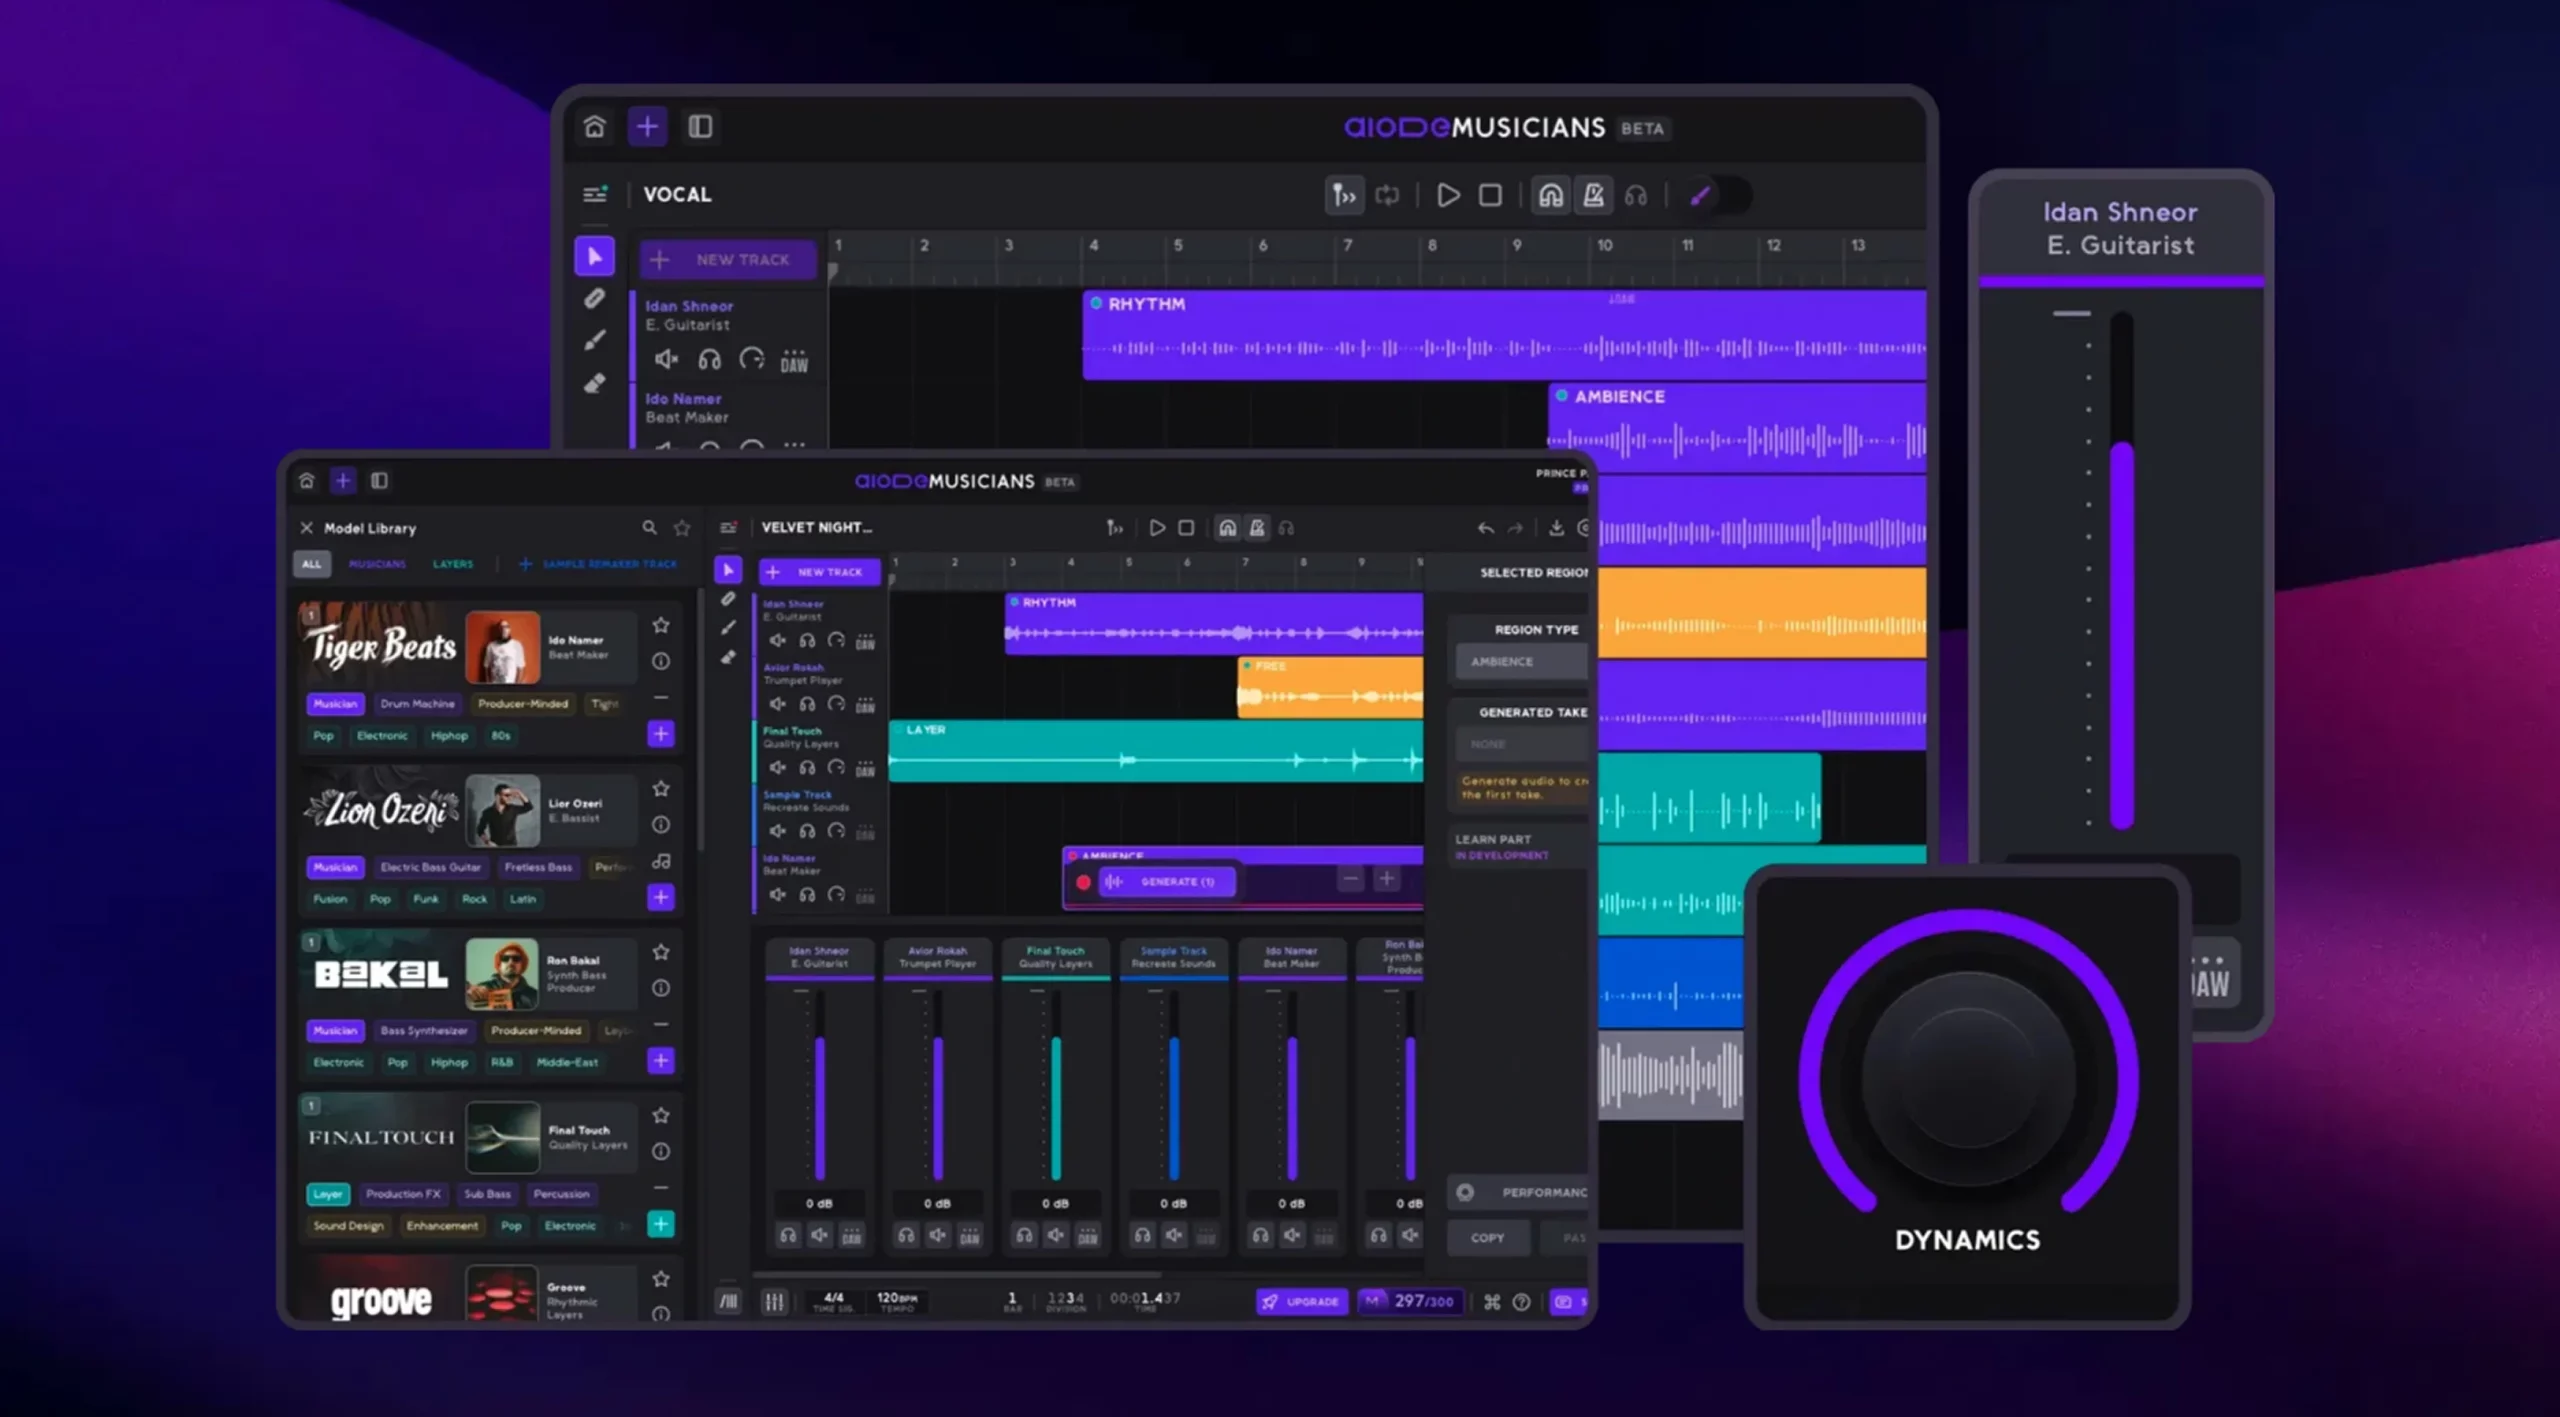
Getting started
This section contains a step-by-step breakdown of how to get started using Aiode.
Create an Account
Start by creating an Aiode account if you don’t have one already. You will find the TRY NOW button at the top right of the page. This is true for all pages except the page “KNOWLEDGE BASE”, so make sure that you are not browsing that one. As Aiode is still in its Beta phase you will be directed to a page where you answer some questions and click to join the waiting list. You will receive a confirmation email
Log in to Your Account
Once you get selected to join Aiode’s Beta phase you’ll receive another email with the good news! You can then log in to your account on Aiode using the LOG IN button at the top right of the pages.
Pages/Navigation
This section contains a breakdown of the different pages inside Aiode, how to navigate between them, and a description of the different functions inside each one.
Aiode Musicians / Dashboard
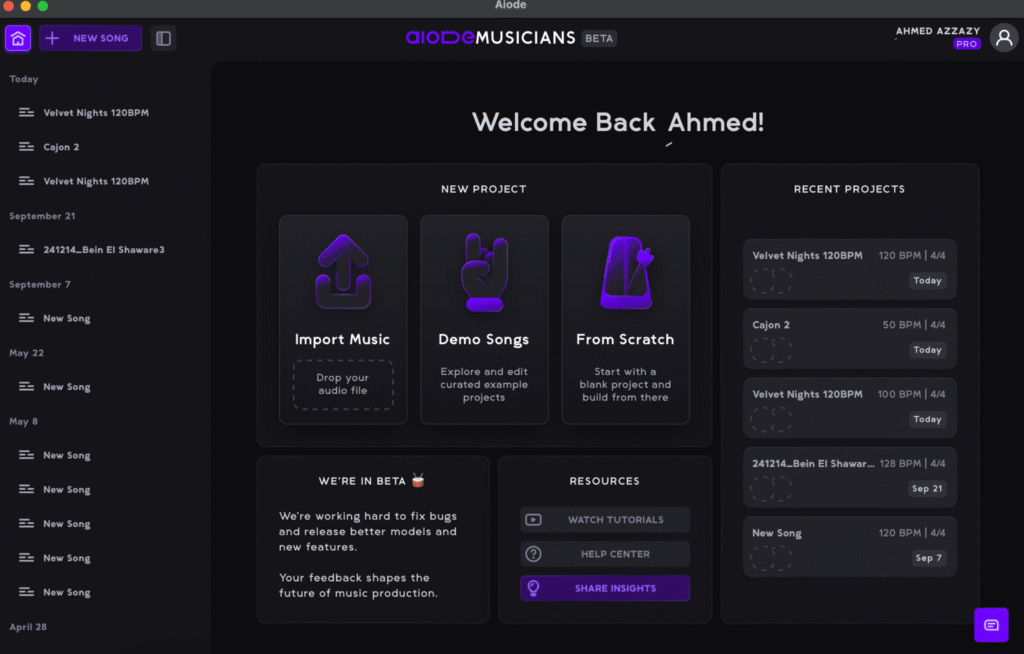
When you log in to your Aiode account you will be directed to the Aiode Musicians dashboard containing the core engine of Aiode. This page is your starting point whether you want to start a new project or carry on with a recent one. There are 3 options for starting a new project: Import Music, Demo Song, and From Scratch. WATCH TUTORIALS takes you to Aiode’s Youtube channel with tutorial videos that take you on a tour around the different features and functions inside Aiode. The HELP CENTER leads to handy articles to assist you. SHARE INSIGHTS connects you with the support team at all times.
Start a New Project
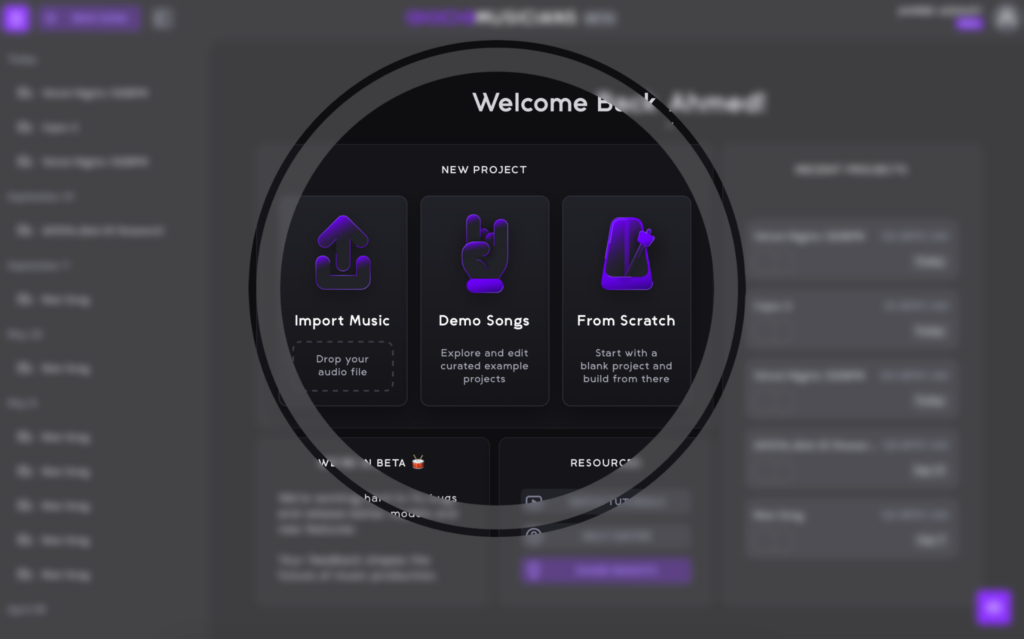
There are 3 options for starting a new project. Choose Import Music to upload an audio file and build musical lines around it, Demo Song lets you explore and edit curated example projects, and From Scratch starts an empty project.
Open a Recent Project
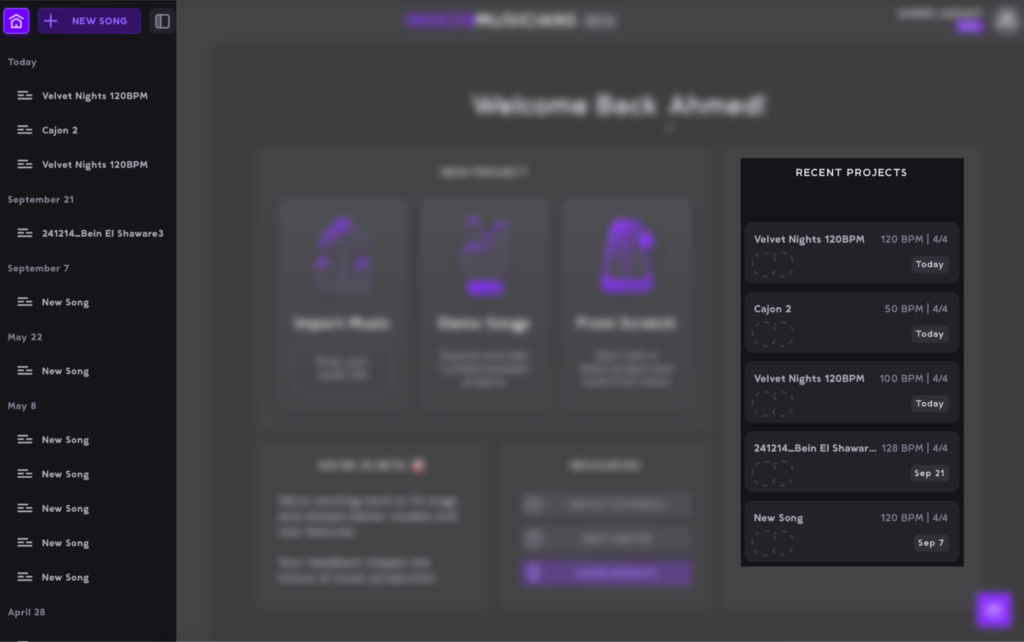
To open up a recent project use the Recent Project section to the right of the Aiode Musicians dashboard, or the Projects panel on the left. The section on the right displays 5 most recent projects along with their tempos, time signatures, musicians included, and the last time you opened them. The panel on the left displays older projects. You can use that panel at any time while working on your projects as it remains in your view even after you recall a project and start working on it. You can hide the Projects panel by clicking the Hide/Show Songs button or press (Shift + P).
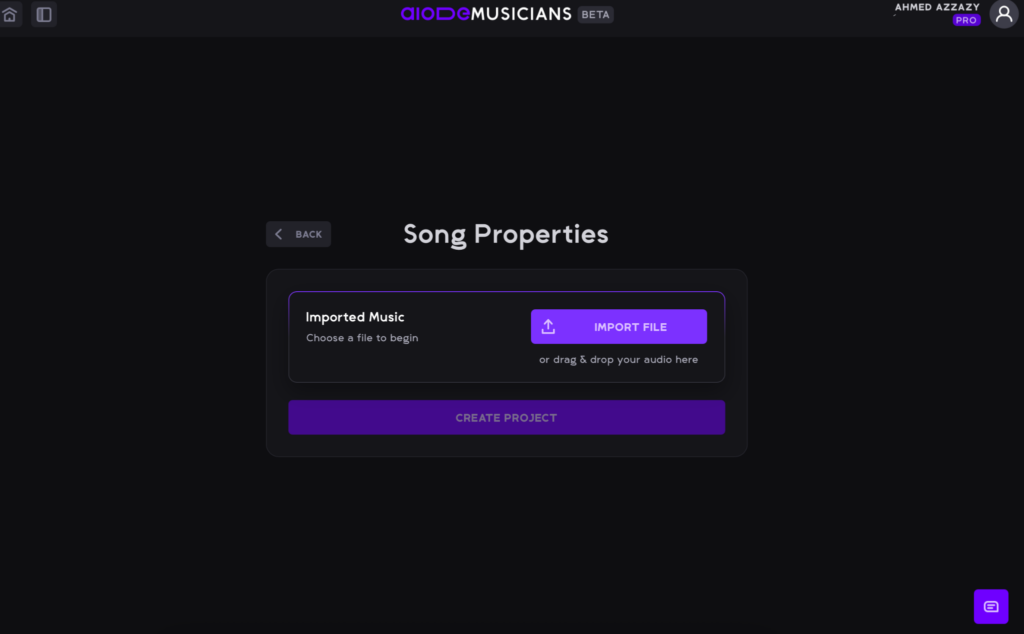
Upload Your Music
The first thing you would want to do after having a new project created is to format of MP3 or WAV of any length as long as it’s under 150 MB. Whether it’s a melodic vocal track, drum take, or a nice chord progression that you came up with, upload your music to Aiode to start adding layers of instruments to it created by our talented virtualized musicians.
Aiode lets you upload an audio file containing any type and form of music. You can upload a chord progression you like, a drum pattern, or even your own voice humming a melody. Note that you can replace the audio track you uploaded with another one. To do that simply navigate to the secondary tab on the track’s header and click on the Replace Track button which has the swap icon 🔁 on it.
The Composition Page
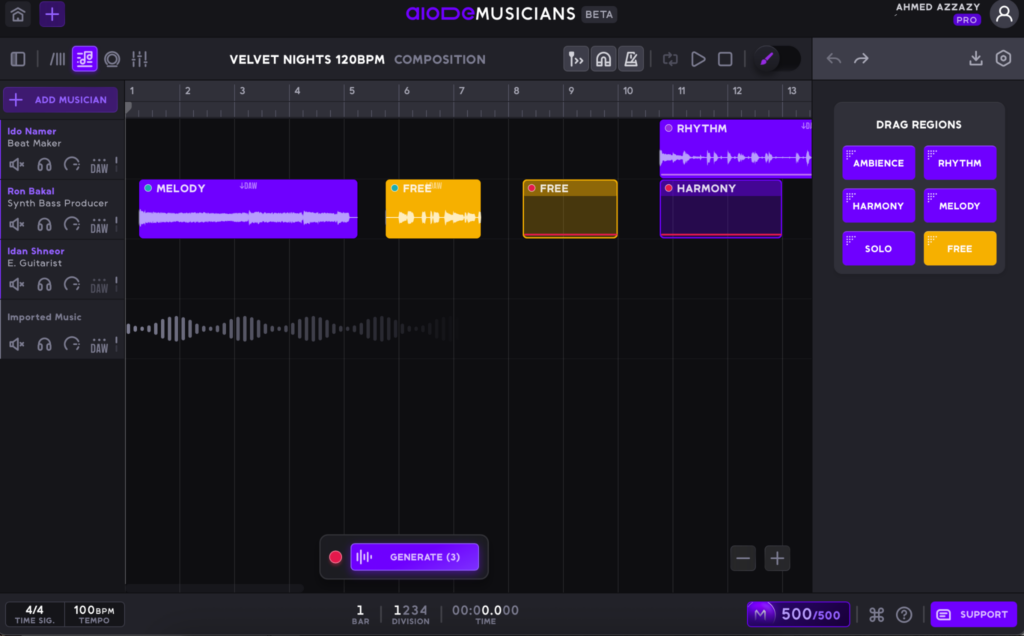
The composition page is the main page of your operations. Think of it as the main page of your DAW where you put your music together. Here you are able to upload your music, Set your project’s temp and time signature, and most importantly, create new music! You can access the Composition page by pressing the number 2 on your keyboard.
Choose Page
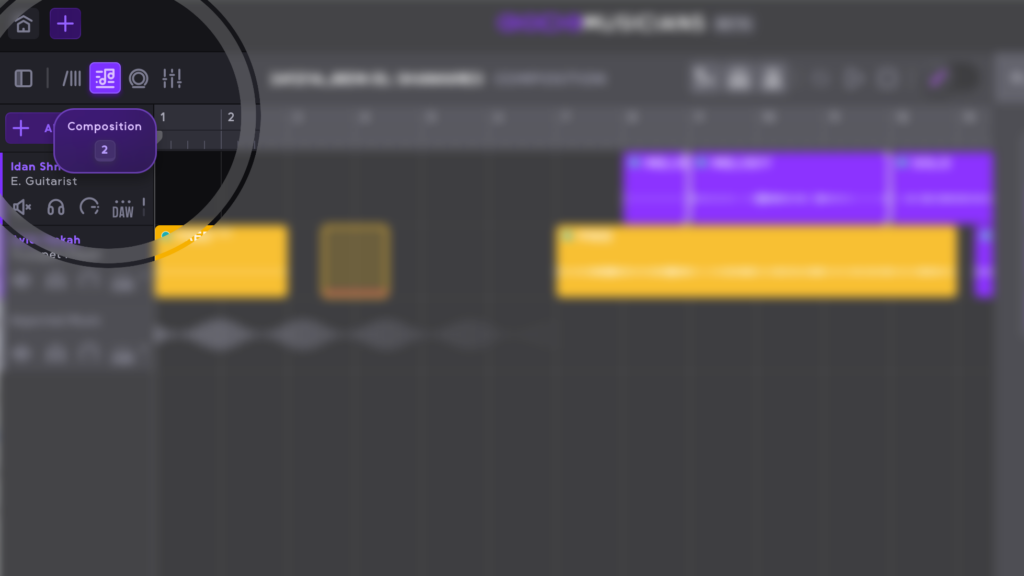
You can choose between different pages from the top left of the top panel of the Composition page. Four buttons will take you to the Musicians, Composition, Performance, and Channels pages. You can also use the shortcuts for that, 1,2,3, and 4 for each page alternatively.
Add Musicians
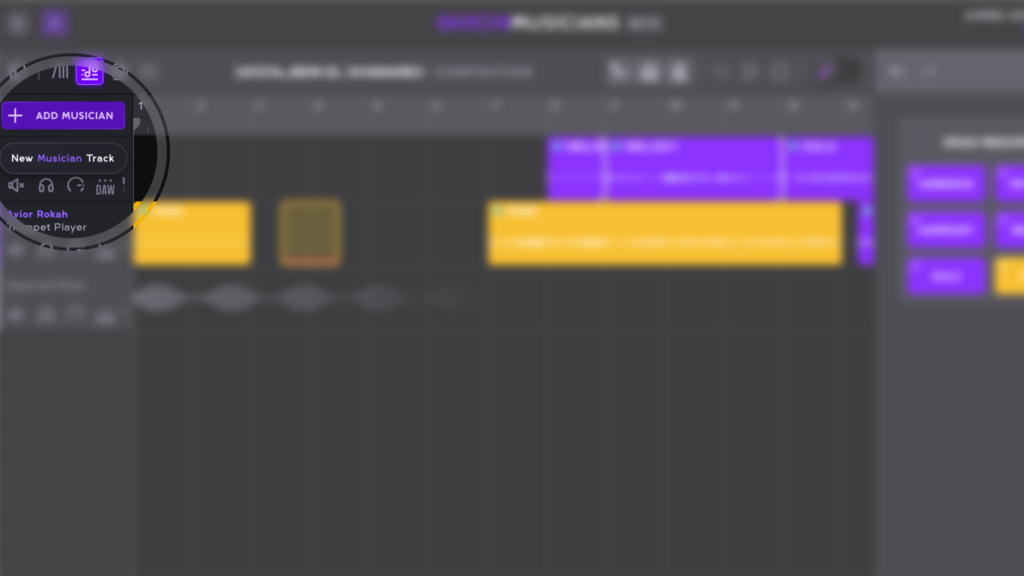
Aiode’s virtualized musicians are the core of Aiode’s magic. To add a musician simply click on the Add Musicians button to the top left of the Composition Page. You will then be directed to the Musicians page where you can listen to Aiode’s virtualized musicians and add them to your project.
You can replace added musicians by navigating to the secondary tab of the tracks header and clicking the Replace Musician button with the swap icon on it.
Beat Ruler
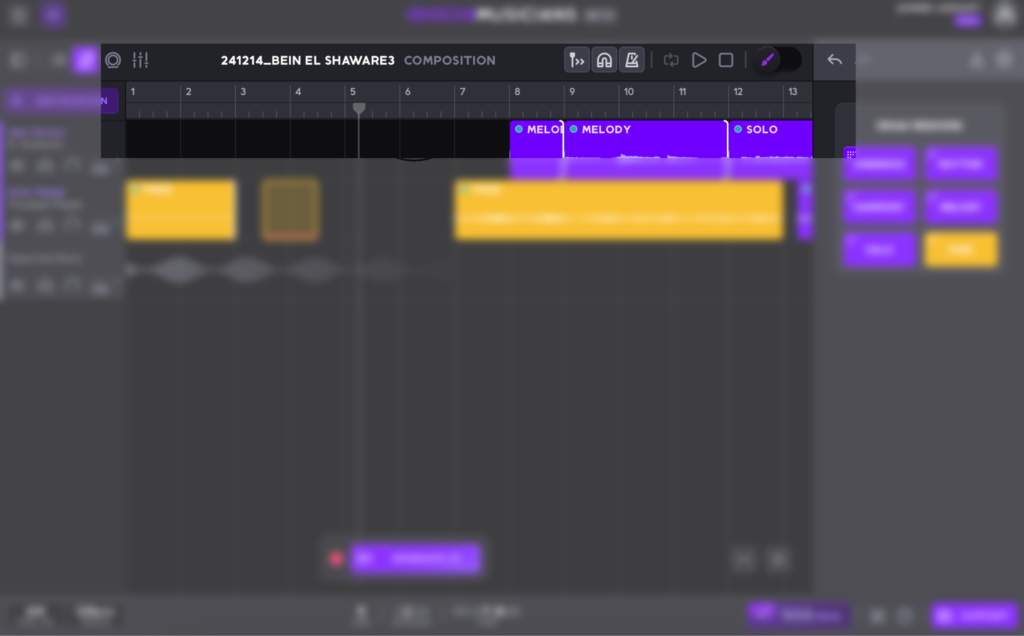
The Beat Ruler is located at the top of the Composition page and under the top control panel. The ruler displays the bar and divisions counting of the different sections of the projects, similar to Digital Audio Workstations (DAWs).
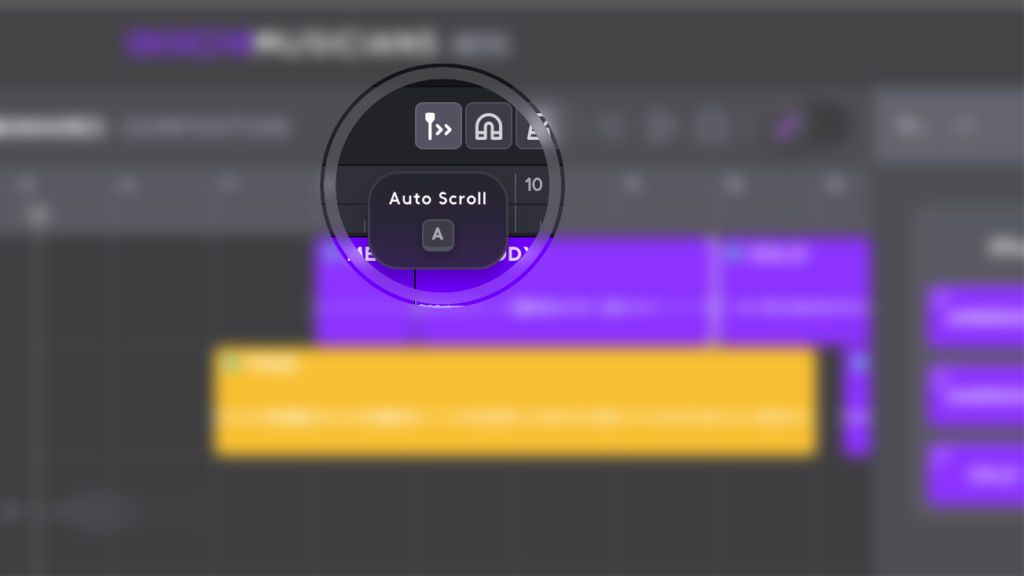
Auto Scroll
This is a button with a cursor and two arrows icon at the top panel of the Composition page. When activated the display will scroll automatically during playback to keep the currently playing song position visible.
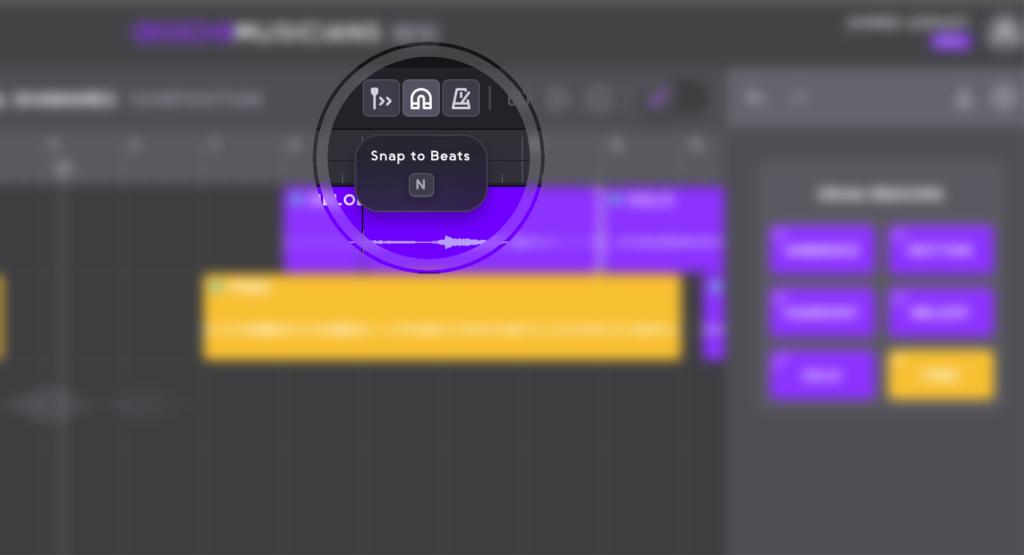
Snap To Beats
This is a button with a magnet icon at the top panel of the Composition page. Use it to control the way regions move. When activated they move in increments of beats (each bar usually has 4 of them) when turned off regions move freely without constraints.
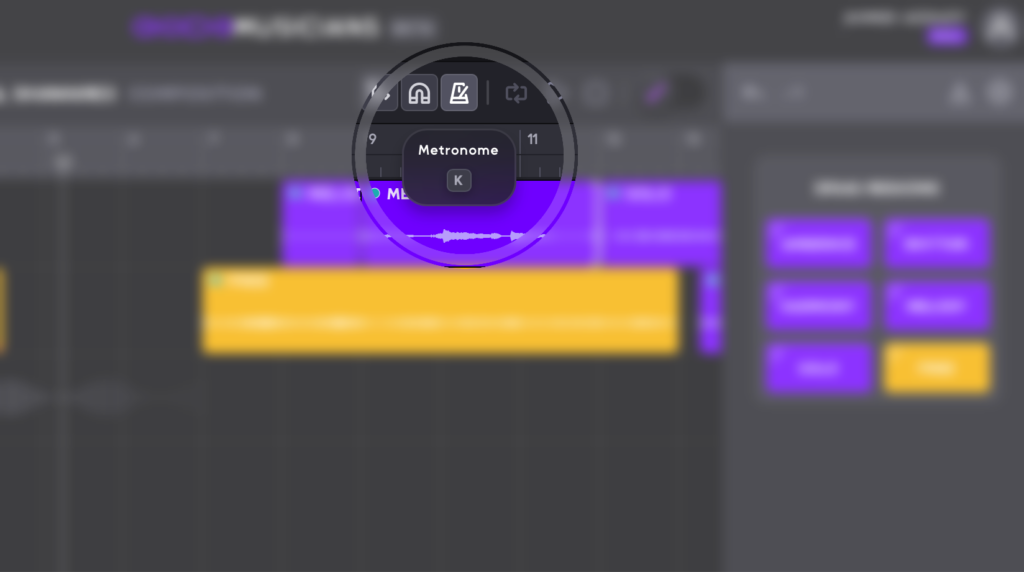
Metronome
This is a button with a metronome icon at the top panel of the Composition page. When activated a metronome sound will play along with the song. The metronome follows the tempo of the project.
Playback Controls
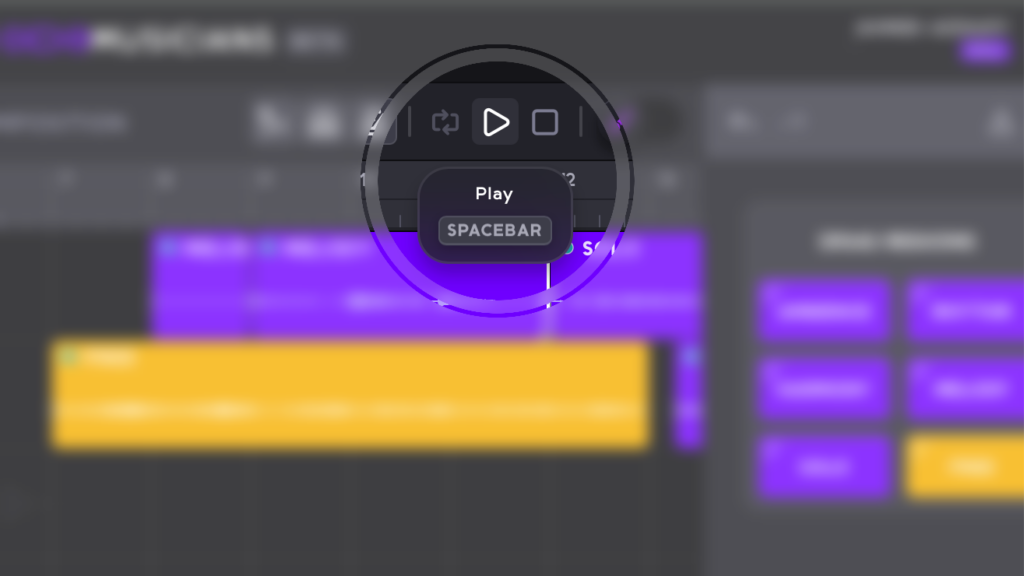
Located to the right of the top panel of the Composition page are the project’s playback controls. There are three buttons: Play/Pause, Stop, and Repeat. Like any Digital Audio Workstation (DAW) you can press the Spacebar on your keyboard to trigger the Play/Pause button and press the Return key to trigger the Stop button. The Stop button moves the playing head to the beginning of the project.
Generate Mode
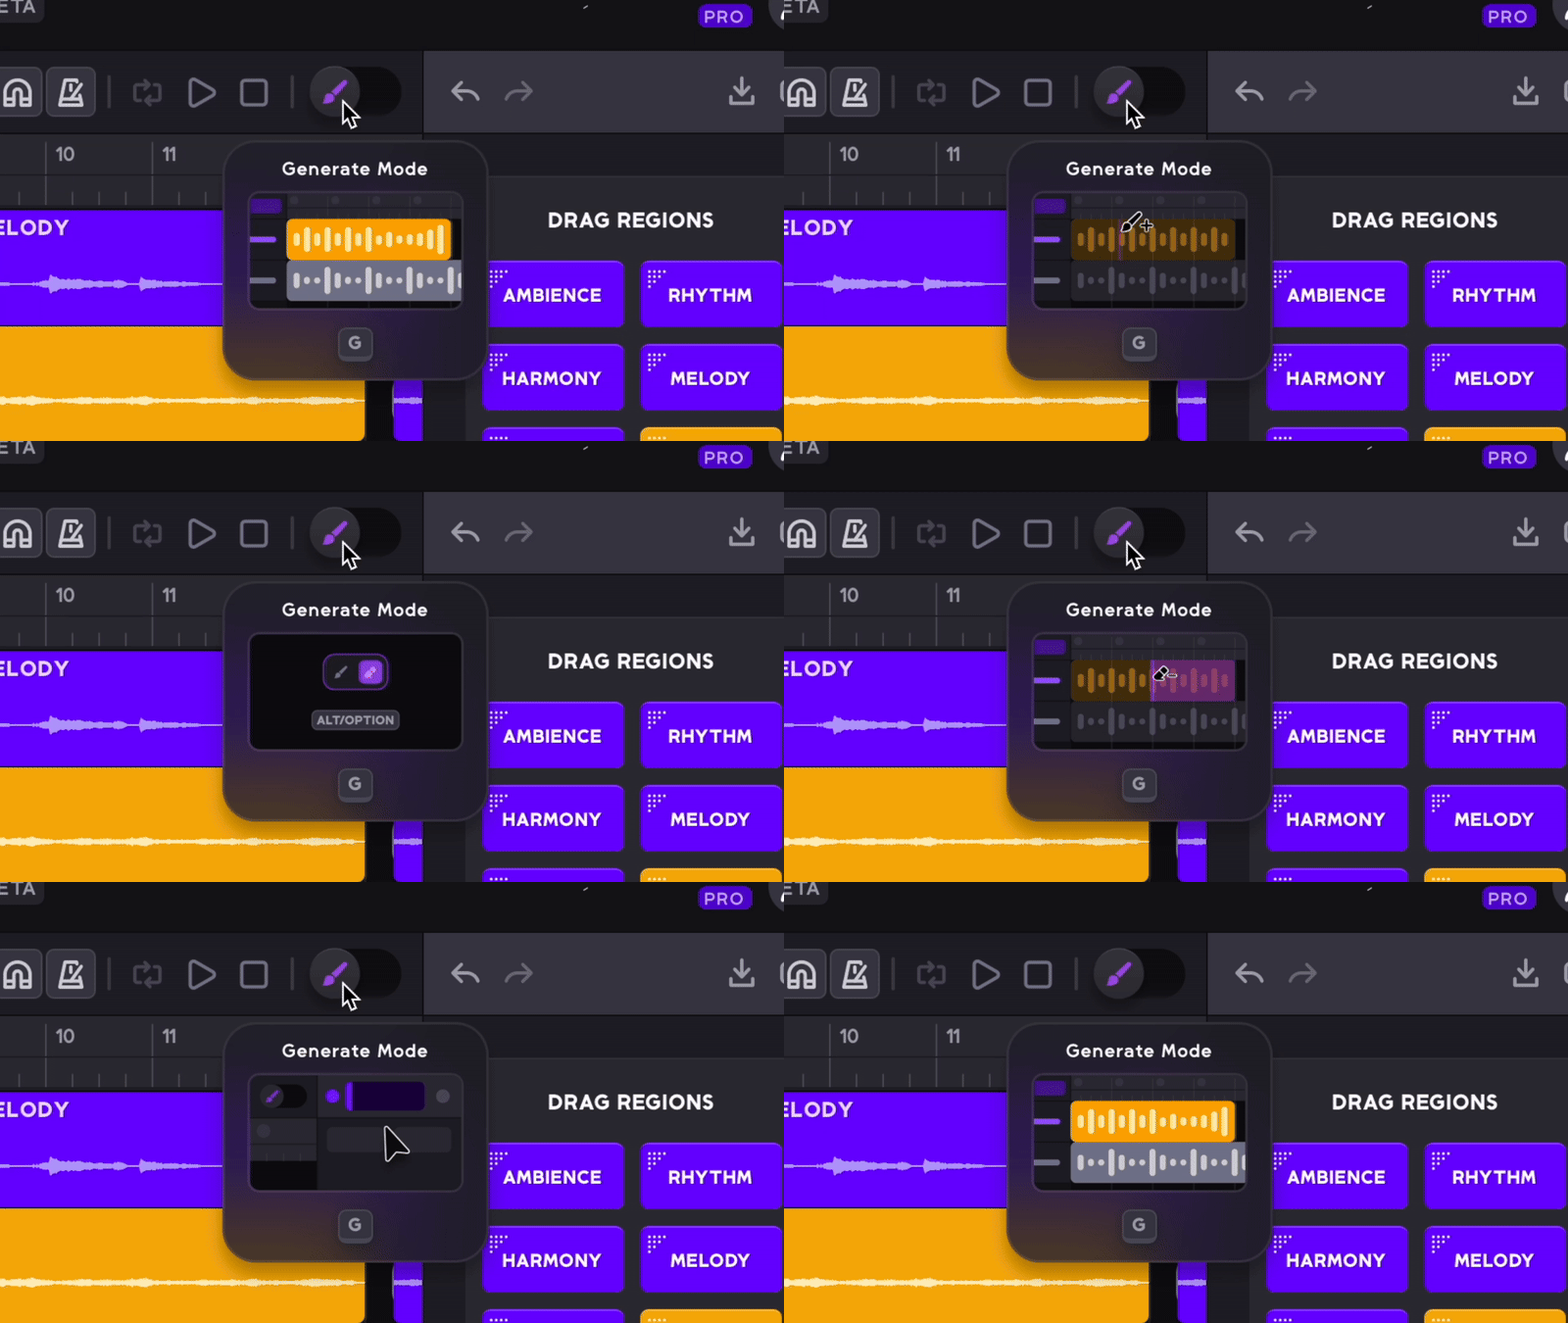
Aiode’s Generate Mode button switch has a brush icon and is located in the Composition page, at the top right of the grid, next to universal project controls. You can also use the shortcut (G) to easily activate and deactivate the Generate Mode.
There are two tools in the Generate Mode. Once the mode is activated and by default, your mouse will turn into a Brush tool allowing you to draw new takes regions. There is also an Eraser tool that allows you to erase regions from the grid. After you draw in all of the regions you would like to have new music generated for, press the Generate Takes button and let Aiode do its magic.
Undo/Redo
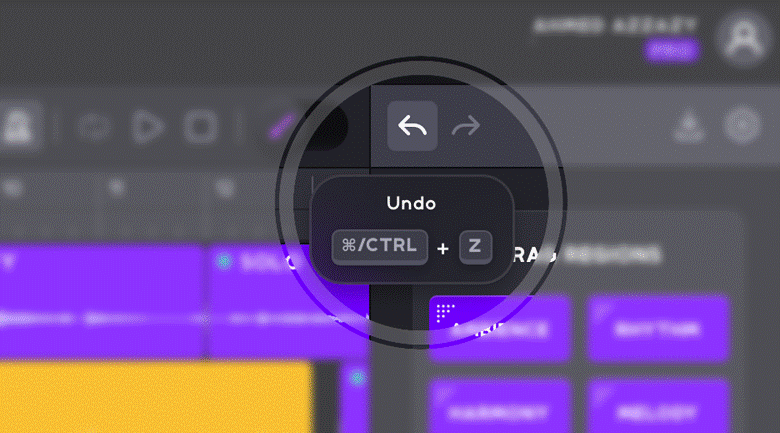
If you want to undo an operation simply click the buttons at the top right of the Composition page when neither the Download nor the Settings tabs are engaged; or, use the common keyboard shortcuts ‘command/CTRL+ Z’ and Shift + command/CTRL + Z’ to achieve that.
Export
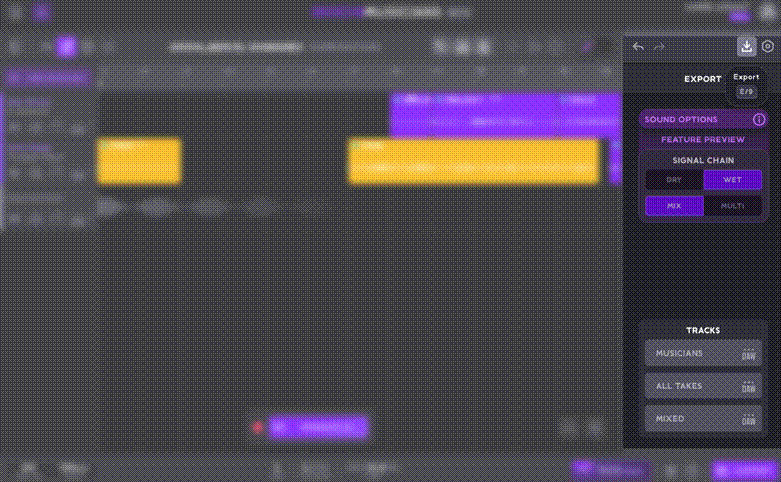
The Export button in the top right of the Composition page opens the Export panel which lets you export your project. You can choose between exporting with the musician’s sonic signature, or the dry signal, and whether to mix or to export the multi-channel tracks. At the bottom of the Export panel you can prepare tracks for DAW drag-and-drop, choose between Musicians, All Takes, and Mixed.
Project Settings
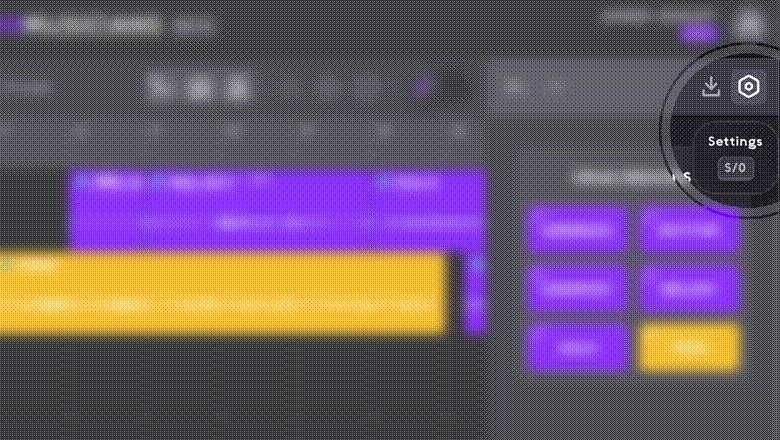
At the top right of the top control panel of the Composition page is the settings button with a gear icon. You can also press the letter S or the number 0 on your keyboard to access the settings tab. The settings tab is displayed on the right of the page. It shows your current account tear, how many Muse tokens you have left, and how many you receive monthly. The settings tab also lets you extend or reduce the length of your song.
Create a New Region
In order to generate takes by musicians you need to select sections of the song where you want them to be. This is done by creating regions. To create a region simply drag over a section of the song inside one of the musicians’ tracks. In the new Beta 2.0 of Aiode you can now generate regions that last up to a full minute
After creating a region you can move it around in the session to cover different sections, for example from bar 2 to bar 10. You can do that by simply hold-clicking and holding on a region and moving it left or right.
You can also extend or reduce the length of a created region. To do that drag from one end of the region and pull outward or inward. With this extended region capability, a single region can seamlessly span multiple sections of your track, such as a verse, chorus, bridge, or even more complex arrangements, all in one continuous performance.
Region Controls
Region controls put you fully in charge of every detail of your song. Here what you can do:
Drag and Drop Regions
You can now move regions around the composition page. Simply hold on a region and drag it to the new place you want it to be in.
Trim and Extend Regions
You can now trim regions from both sides, and also extend them to left or right. Do that by simply hovering over either edge of the region and dragging in or out
Overlap Regions
If two regions are back-to-back, you no longer need to delete one of them in order to extend the other. You can now extend a region and have it overlap over another region directly. This means that the overlapped region will still have the rest of its content available for you, it won’t be deleted fully.
Assign Musical Roles to Regions
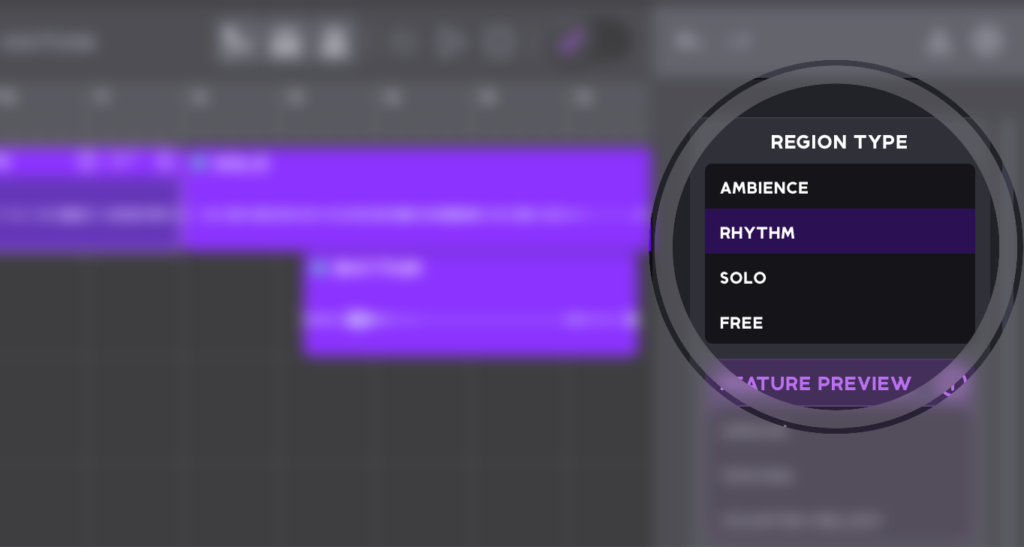
In the past, Aiode’s composition page offered only the “Free” region – letting the virtual musician decide which musical part and style to contribute. It was quick, flexible, and great for spontaneous ideas, but it left creative direction in the hands of the musician. That’s changing!
What are the region controls and what do they sound like:
- Ambiance – background layer that sets the tone
- Rhythm – groovy performance to drive the beat
- Chords – adds harmony and shape to the song
- Melody – emotional and precise performance
- Solo – an impressive solo to capture ears
- Free – could be any of the above or a fusion of them
Make use of the region controls when you’re creating new music for your song, it’s such a powerful feature!
Multiple Takes Per Region
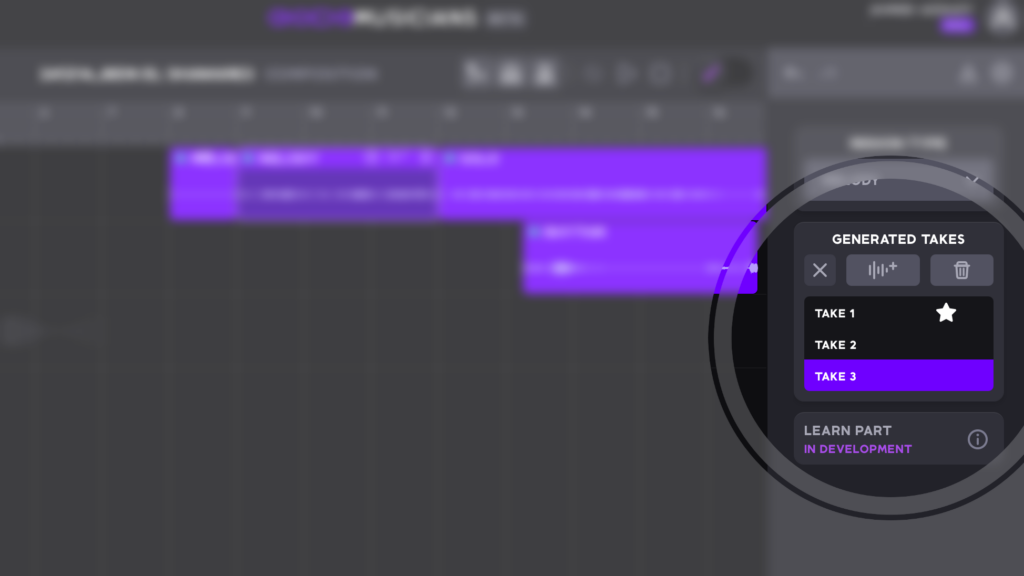
Aiode’s engine allows for the generation of up to 20 takes for the same region. Takes will appear in the window on the right in the GENERATED TAKES section. From there you can view all takes that have been generated for that region, name them, and also favourite/star them for easy recall.
To generate a new take for the region simply press the Queue New Take button in the window on the right. Then, when you click the global Generate button, all regions that have been queued will have new takes generated for them.
Track Controls
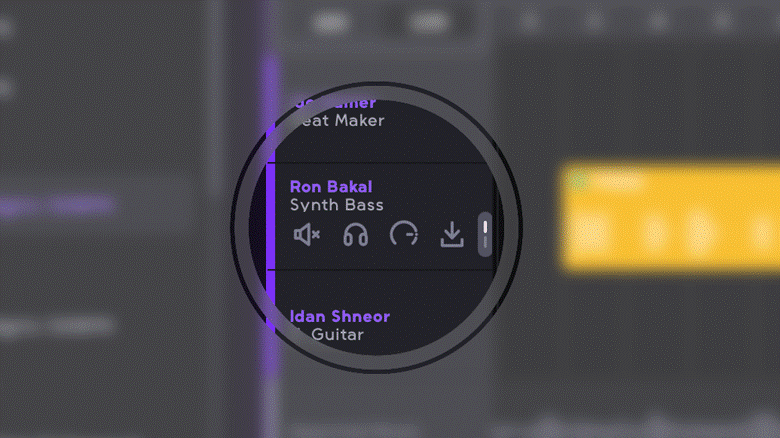
The header of each track in the Composition page, which is to the left of the grid at the beginning of your song, provides you with a number of controls that are associated with each individual track. The controls are displayed in two tabs, you can switch between them by clicking on the little switch tab view button. The controls are:
- Mute: Mutes the track, while other unmuted tracks play normally.
- Solo: Solos the track, muting all other tracks.
- Adjust Volume: Lets you drag up or down to change the track’s volume. The range is from -48dB to 0dB.
- Download Track Audio: Lets you download the entire audio on the track from song start to finish, even if there are empty sections with no regions on them. Downloads in WAV format.
- Remove Musician: Removes the musician assigned to the track and leaves the track empty. When you click on that button you will get a confirmation pop up before executing.
- Duplicate Musician: Duplicates the musician in a new empty track.
- Replace Musician: Transforms you to the Musicians page to choose and replace the musician.
- Generate Musician Track: Generates takes for all empty regions on that track only.
Download Tracks/Takes
You can download entire tracks and/or individual takes. To do that simply click on the Download button at the far top right of the Composition page or press the letter D or the number 9 on your keyboard. The Download tab will engage at the right of the page and you will have the option to choose the format of the download weather in MP3 or WAV.
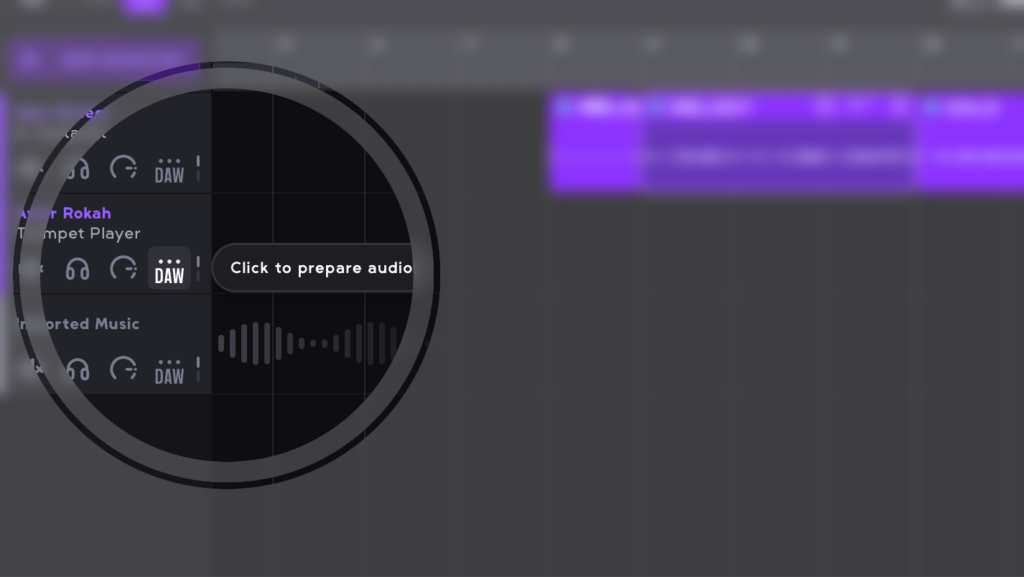
DAW drag-and-drop (In The Desktop App)
Aiode excels with its DAW drag and drop feature in the desktop app. You will find the DAW in multiple places: tracks headers (), region headers, and also the Export panel.
Account Settings/Sign Out
At the top right of the Composition page is your account settings. Click on your name and/or the avatar icon to choose ACCOUNT SETTINGS or SIGN OUT. ACCOUNT SETTINGS opens a pop-up window that lets you change your name and email and choose your email preferences.
Generate Takes
After creating regions you can generate takes for them. Each region can play one take at a time but you can generate an endless number of takes as long as you have enough Muses balance.
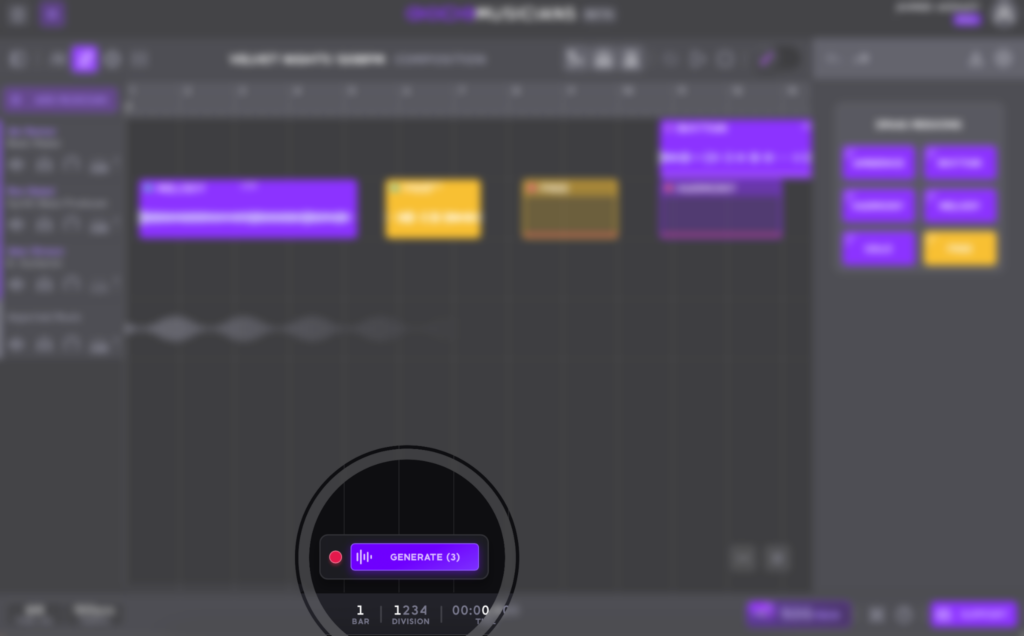
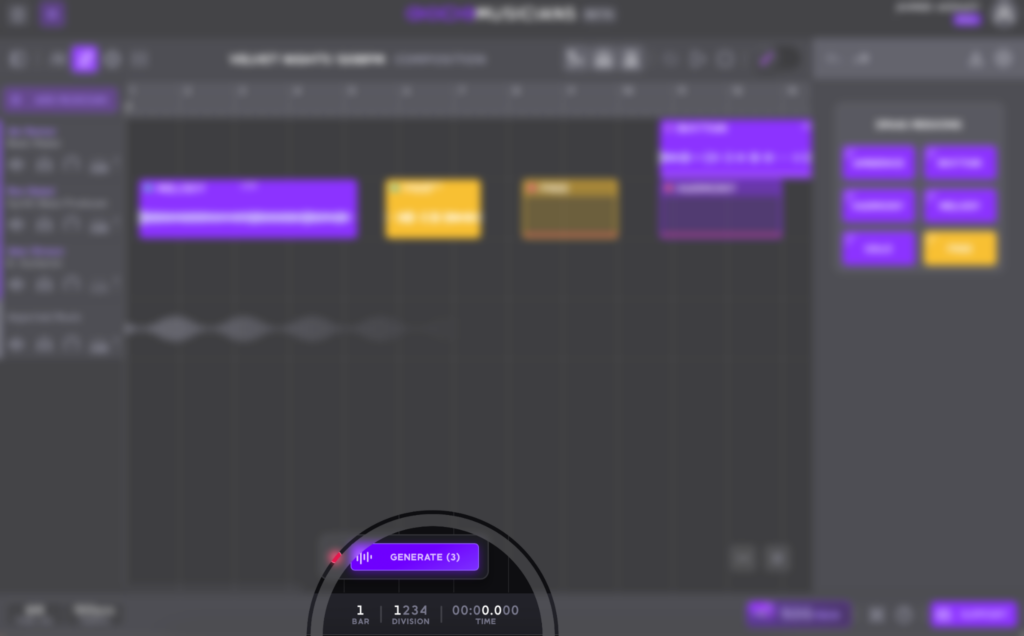
To generate a take simply click on the GENERATE button at the bottom center of the Composition page. All newly created regions, and those queued for new takes, will have new takes generated for them. Aiode’s engine will take a few short seconds and new takes will be generated by our virtualized musicians.
If you don’t like a take that is generated for a specific region you can have it replaced. Simply click on the Queue New Take button by hovering over the top right of a region.
Zoom In/Out
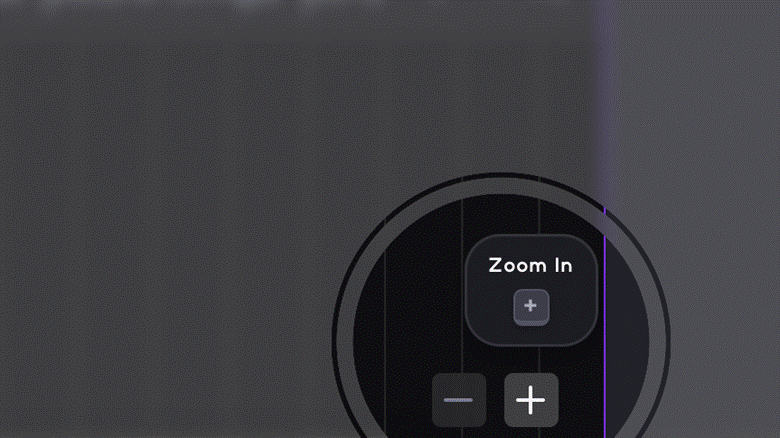
Use the buttons with plus (+) and minus (-) icons to zoom in and out of the project’s preview. They are located at the bottom right of the Composition page.
Set Project Time Signature and Tempo
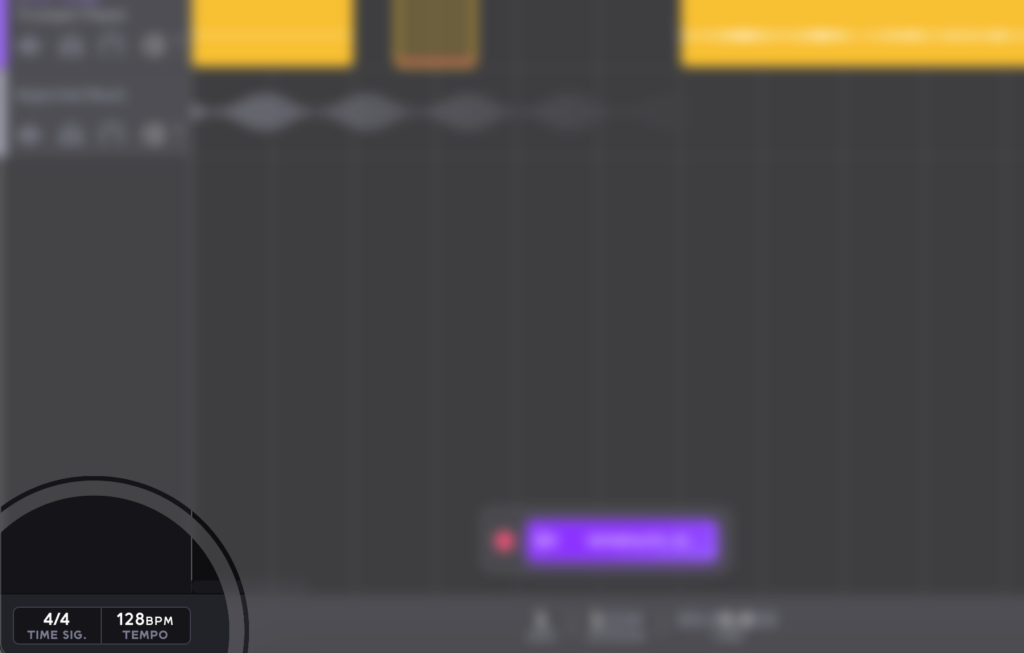
Set your project’s time signature and tempo from dials in the bottom left of the Composition page. By default the project time signature will be set to 4/4 and the project tempo will be set to 120 BPM.
Time Code
In the bottom center of the Composition page is the time code of the project displaying the exact location of the playhead in terms of bars-divisions, and time.
Muses Tokens
At the bottom and to the right of the Composition page is your credit of Muses. Muses are Aiode’s currency. They will be consumed as you generate new music regions. Make sure you have sufficient Muses balance to be able to work on your tracks.
The term “Muses” is derived from the ancient Greek religion and mythology, the Muses were the inspirational goddesses of literature, science, and the arts. They were considered the source of the knowledge embodied in the poetry, lyric songs, and myths that were related orally for centuries in ancient Greek culture.
Aiode’s Shortcuts
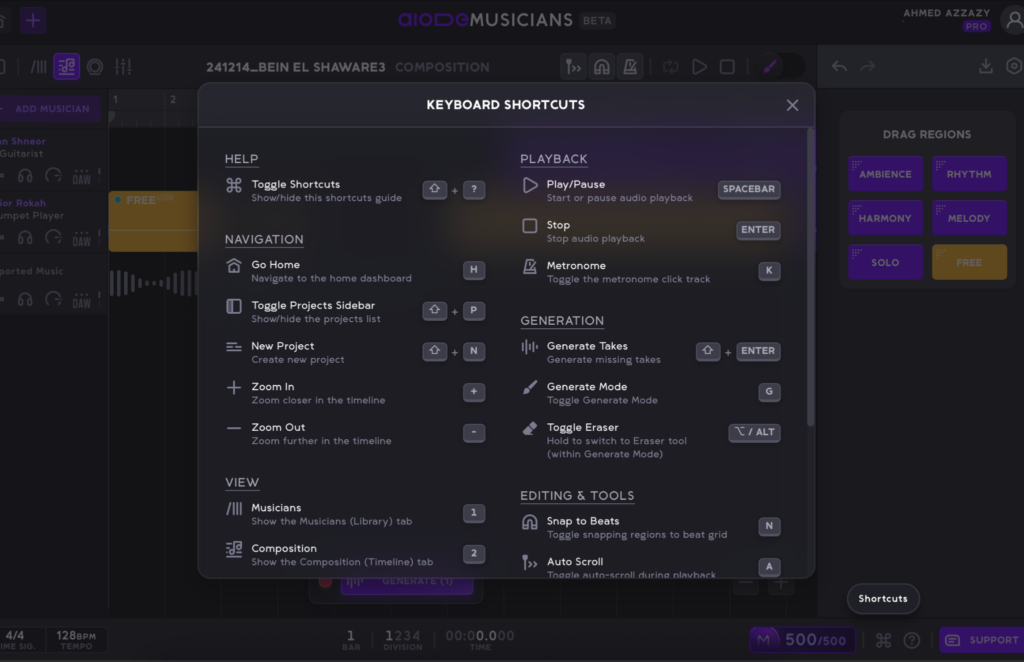
Aiode took a step to facilitate the workflow of its users and prepared a quick access Shortcuts button that displays all keyboard shortcuts around Aiode.
Help
The Help button takes you to a bank of information articles that help assist you and answer any questions you might have
Support
Contact Aiode’s support with a push of a button. Click the Support button in the far bottom right of the Composition page to get in touch with one of Aiode’s support team.
The Musicians Page
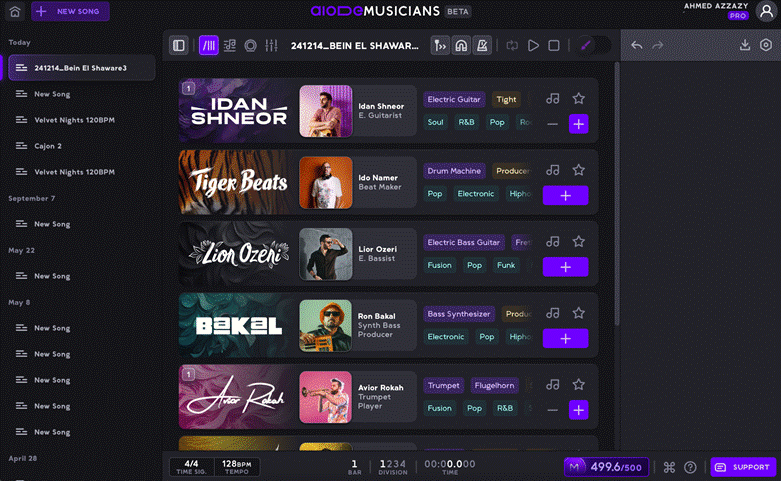
The Musicians page displays Aiode’s virtualized musicians. Each musician is displayed in a separate tab with their names, photos, occupation, instrument, genre in which they shine, and their performance style. The Musicians page lets you listen to samples generated by the musicians, favorite them, and add them to your projects. You can access the Musicians page by pressing the number 1 on your keyboard.
Play Sample
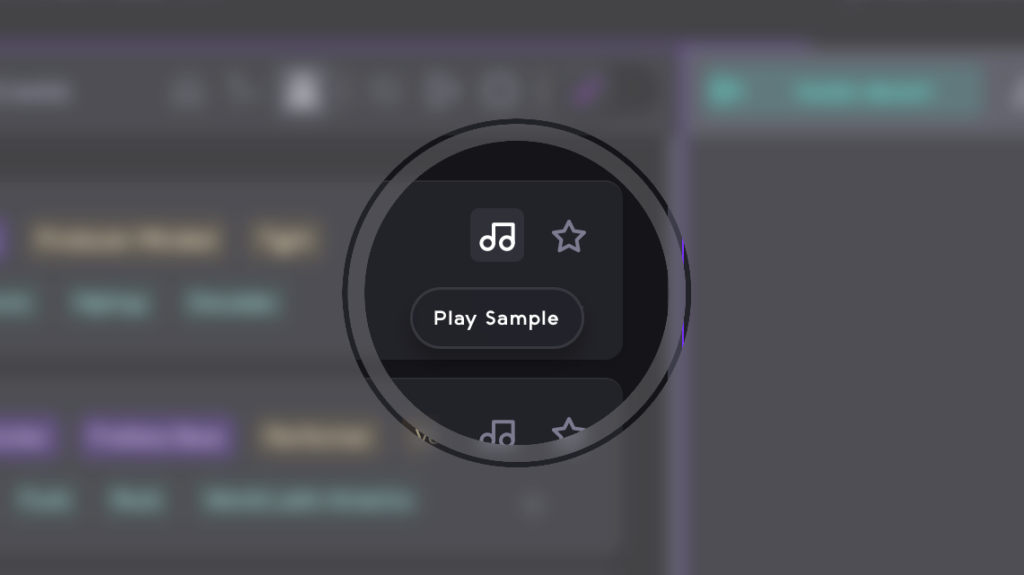
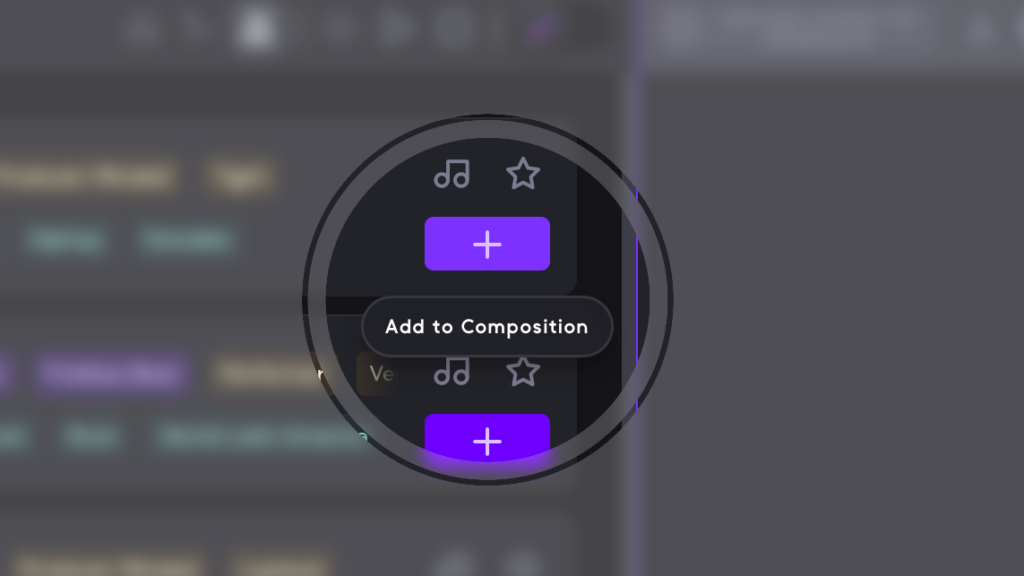
Click the Play Sample button with the music icon which you can find at the right of each musician’s tab to listen to a sample of that musician’s sound and playing style. Each time you click the button a new sample will be played so that you can make up your mind about whether to add that musician to your track.
Favorite a Musician
If you like a musician’s sound and playing style you can favorite them so that you can easily add them to your project if needed or add them to other projects. To do that simply click on the Favorite button with the star icon at the right of the musician’s tab.
Add/Remove Musician
To add a musician to your song simply click on the purple button with the plus icon. You can also remove the musician after adding them. To do that use the two buttons with the plus + and minus – icons that will appear when a musician is added. They will be located in the far right of each musician’s tab, under the Play Sample and Favorite buttons.
The Performance Page
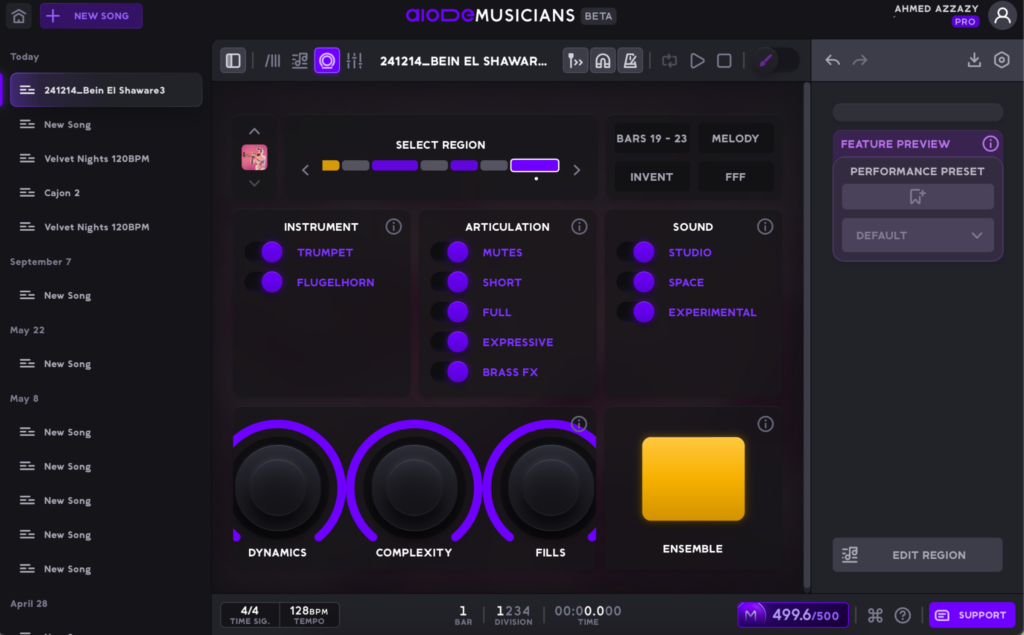
The Performance page lets you fine-tune every detail to match your creative vision and bring your music to life with just a few clicks. You can access the Performance page by pressing the number 3 on your keyboard.
The Performance Page lets you meticulously set a number of parameters that determine the output of your musician’s playing. You can alter all of Style, Envelope, Timbre, Dynamics, Complexity, Articulation, Sound, and Fills.
Select Region
Select the region you wish to apply specific performance articulations to
Instrument
Some musicians play more than one instrument. For example, Avior Rokah the trumpet player also plays Flugelhorn, you can choose which instrument he plays for each region.
Articulation
Controls the way notes are being played. Each musician would have different articulations depending on their instrument. All articulations are on by default, turn off the ones that you don’t want.
Sound
Controls different aspects of the sound of the musician. It gives controls over pedals and amplifiers for guitar players and the sound processing of brass instruments.
Here is a breakdown of the other parameters
- Style: Choose between Retro, which delivers the nostalgic warmth and character of ’90s-era recordings, or Modern, which leans into sleek, futuristic tones and textures. This sets the overall vibe and aesthetic of the musician’s performance.
- Envelope: Select from Simple, Punchy, or Pluck to control the shape and groove of the sound. These options influence how the notes start and end—whether they’re smooth and laid-back, snappy and bold, or sharp and percussive.
- Timbre: Shape the tonal “color” of your music, just like adjusting a guitar amp—with settings like Clean (clear and natural), Drive (gritty and energized), Fat (warm and thick), and Wide (spacious and expansive).
- Dynamics: This setting controls how expressively the musician plays, affecting the contrast between soft and loud moments. Use it to create performances that are more restrained or full of emotional range and movement.
- Complexity: Adjust how rich, detailed, or minimal the performance is. A lower complexity keeps things simple and tight, while a higher setting introduces more variation, ornamentation, and musical intricacy.Overdrive for a gritty edge, or Distortion for a more aggressive, saturated sound.
- Fills: Decide whether the musician sticks closely to the song structure or spices things up with creative fills and transitions. This adds spontaneity and personality to the performance, if desired.
The Channels Page
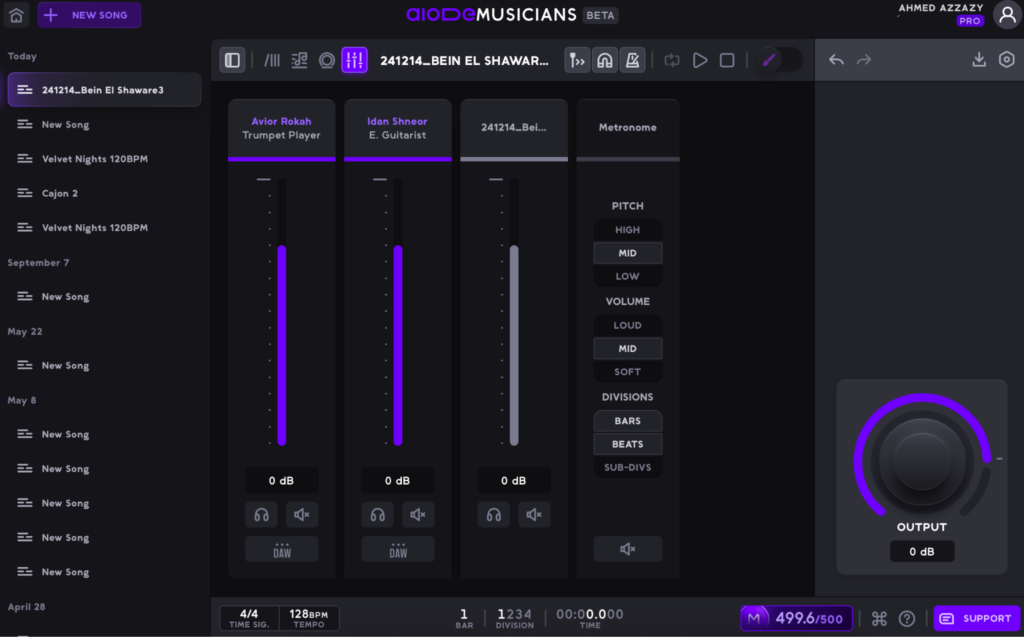
The Channels page works like a mixer in a Digital Audio Workstation (DAW). You can access the Channels page by pressing the number 4 on your keyboard. The page displays your tracks in a vertical channel manner with the name of the track/musician displayed on top. You can adjust the track’s volume by dragging the slider up or down. You can also type in the exact volume level you want for the track in dBs. The volume ranges from +6dB to minus infinity.
The Channels page also provides you with the following controls for each track:
- Mute: Mutes the track, while other unmuted tracks play normally.
- Solo: Solos the track, muting all other tracks.
- Download Track Audio: Lets you download the entire audio on the track from song start to finish, even if there are empty sections with no regions on them. Downloads in WAV format.
Aiode Pricing Plans
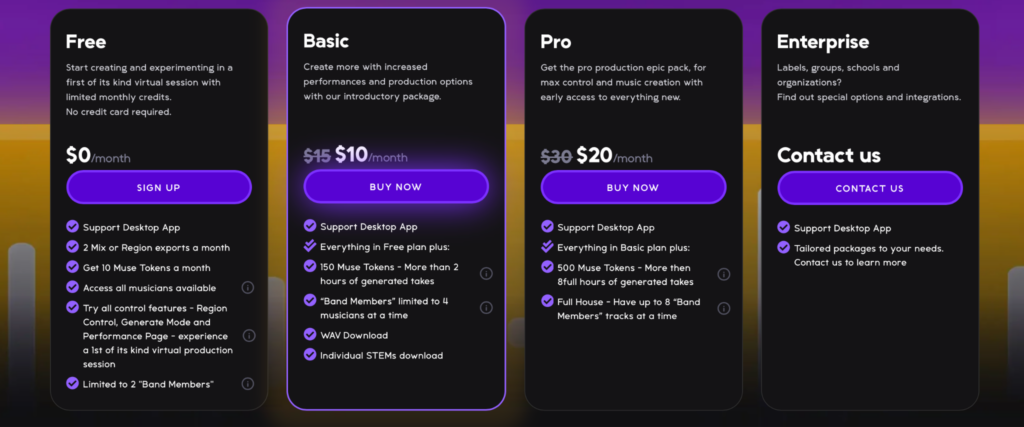
Aiode currently operates on a token-based pricing model during its beta phase, using our system of Muse Tokens, where one Muse Token typically represents about one minute of AI-generated music. There are four main plans available: Free, Basic, Pro, and Enterprise. Make sure you pick the plan that is best tailored to your production needs. Here are the plans in more detail:
Free
Start creating and experimenting in a first of its kind virtual session with limited monthly credits.
No credit card required. This plan is for Free.
Benefits:
- Desktop App
- 2 Mix Region Export a month
- 10 Muse Tokens a month
- Access to all available virtualized musicians
- Access to all control features including: Region Control, Generate Mode, and Performance Page.
- Limited to 2 virtualized musicians per project
- Download in MP3 format
This plan is ideal for people who want to have a slight glimpse of what Aiode is capable of.
Basic
Create more with increased performances and production options with our introductory package. This plan is only for 15$ per month or $8,33 in the annual subscription.
Benefits:
- Desktop App
- Everything in Free Plan Plus:
- 150 Muse Tokens a month, giving you more than 2 full hours of generated takes
- Limited to 4 virtualized musicians per project
- Download in WAV format
- Download project’s individual STEMs in WAV
This plan is ideal for beginner producers who occasionally create music.
Pro
Get the pro production epic pack, for max control and music creation with early access to everything new. This plan is only 20$ per month or $16,6 in the annual subscription.
Benefits:
- Desktop App
- Everything in Basic Plan Plus:
- 500 Muse Tokens a month, giving you more than 8 full hours of generated takes
- Access to a full house of 8 virtualized musicians per project
This plan is for the serious and professional music creators
Enterprise
Are you a label, school, university, or a music group? Then this plan is for you. Contact us so that we can make a tailored package for your needs. Contact
Best Practices to Generate a Great Take
There are a number of handy tips that will have you generate great takes every time. Here they are:
Set The Right Tempo and Time Signature For The Song
Make sure you set the tempo and time signature of your song correctly. This is important as then you will be able to generate music takes that span an accurate number of beats/bars and is in sync with your song.
Put Your Song on The Beat
Make sure after uploading your song that it is in sync with the project. You can do that by dragging the song’s audio file left and right until the song is in sync with the Aiode project. This is important as it will allow you to generate music takes that fall nicely on beat with your song.
Create Regions One Bar Before The Targeted Section
In order to get great music takes make sure to have regions start at least one bar before the beginning of the section you want to generate music for (pick-up bar). So for example, if you want to create a bassline for the chorus section of your song which starts in bar 64, have the bassline region start from bar 63. This way you get the best out of Aiode’s virtualized musicians. In the case of a bassline for the chorus you might get a nice bass slide-in right before bar 64, which absolutely spices up your song!
Create Regions With The Right Desired Length
Make sure to set the region length to exactly what you’re looking for. This is important as you will not be able to extend the length of the take after it is generated. You will then have to generate a new take.
Listen To More Than One Sample Of Musicians’ Performance
In the Musicians page you can click on the Play Sample button to listen to a sample of the musicians’ playing. This lets you listen to their sound and playing style and make up your mind about whether to include them in your project. What’s amazing about Aiode is that you can click on the Play Sample button endlessly and listen to the musician many times until you’re absolutely sure.
Check The Genres In Which Musicians Perform Best
As Aiode’s virtualized musicians are modeled after real musicians, it is normal for each one of them to excel at some genres more than others. Each musician has their own sound, i.e. guitar and/or amp sound in the case of an electric guitar player, and each one has their own unique playing style. Make sure to read the little genre cards displayed on each musician’s tab in the Musicians page. This will help give you an indication of whether to add that musician to your project or not.
Make Use Of The Performance Page
Aiode’s Performance page gives you an arsenal of cool controls over your project letting you control how virtual musicians perform in your track. It lets you adjust dynamics, complexity, and articulation of the musicians’ performance. Want a part played with a pick? Or maybe muted? The Performance page lets you fine-tune every detail to match your creative vision and bring your music to life with just a few clicks.
Adjust Volume Levels of The Tracks
Just like in a normal song mixing project, the Channels page gives you control over individual tracks’ volume faders. Use them to properly mix your song and make it sound as good as possible. You can also use the volume dials in the Composition page located at each track’s header.
Experiment With More Than One Musician
Aiode gives you an arsenal of virtualized musicians. Each musician has their unique sound and playing style. Make sure that you experiment with adding more than one musician to the targeted section you want to create a take for so that you get the best result for your song. Note, you can mute musicians using the Mute button located at each track header in the Composition page, and also using the track controls in the Channels page.
How To Avoid Common Mistakes
This section includes tips on avoiding common mistakes when using Aiode. Those mistakes might result in generating less than ideal takes and/or hinder your workflow and enjoyment of the process of making music using Aiode.
Mistake: Upload an Audio File That is Bigger Than 150MB
When uploading your song to Aiode make sure that the audio file of the song, whether vocals, drums, melody, or a full composition, is under 150MB, which is the limit on Aiode. You can achieve that by exporting the song’s audio file in MP3 file formats, it will be way lesser in size.
Mistake: Not Align Your Song To The Grid
When uploading your song to the Aiode project it is important to align it with the grid. This means that the song is in groove with the Aiode project. Achieving that will guarantee generating better takes for your song.
Mistake: Create Short Take Regions
When creating take regions for a selected musician make sure to have the region slightly longer than the desired take length for the targeted section. The addition could be only one bar long at the beginning of the section (pick-up bar). This assures that the generated takes cover the section fully and also any cool notes played by the musician leading to the first beat of the section are recorded.
Mistake: Choose The Wrong Musician for Your Song
When choosing virtualized musicians to be added to your song it is essential to look for musicians whose instrument sounds and playing styles match your song. On Aiode, each virtualized musician has their own unique sound and playing style, that is because they are modeled after real musicians. In the Musicians page you will find little cards on each musician’s tab showing which genre they fit best. Also, you can listen to endless samples played by the musician using the Play Sample button.
Mistake: Set The Wrong Tempo For Your Project
After creating a new Aiode project and uploading your song, it is essential to set the correct tempo for the project, that which matches your uploaded song. Failing or forgetting to do that will result in the mismatches between the playback’s metronome and the groove of the song. This might also result in generating takes that do not cover sections fully and thus sound incomplete. Make sure to set the correct tempo for the project using the tempo button, which is located at the top left of the grid in the Composition page. By default, the project will be set to 120 BPM and the button will be flashing NO BPM in red until you click on it and type in the tempo.
Mistake: Unintentionally Mute or Solo a Track
In order to listen to the full mix of your song, make sure that there are no tracks left unintentionally soloed or muted. A track, whether that containing your uploaded music or of a musician, will remain soloed or muted until you switch the action of. You can access track controls from both the Composition and the Channels pages.
Mistake: Open Multiple Aiode Tabs on Your Browser
When working on your music on Aiode it is preferable to have one tab opened on your browser. This helps streamline the music generating process on Aiode and results in less confusion and more organization for yourself.
Mistake: Add Too Many Musicians To The Project
Just like in a normal song mixing situation, having multiple lines, bass for example, might lead to a cluttered mix, and thus your song not sounding ideal. For example when adding a bassline to the chorus section of the song, start with one musician, then experiment with adding more if the creative and artistic nature of the song allows for it.
Mistake: Leave Unused Virtualized Musicians in The Project
When working on your music on Aiode it is preferable to keep your projects organized by removing unused virtualized musicians. Note, you can always save your favorite virtualized musicians for later use by using the Favorite button with the star icon at the right of the musician’s tab in the Musicians page.
What To Do When You Need Support
The Aiode team has got your back 24/7, if you run into any problems and/or need support about anything in Aiode, use the Help pop-up located at the bottom right of the composition page. Our team will reply to your message typically within minutes. You can also report a bug, request a feature, and read through some of the tips we have prepared for you.